If you love the radiant shine of your favorite lip gloss, why not translate that glossy allure to your nails? Lip gloss nails are the hottest trend in nail art right now. In this guide, we’ll show you how to get lip gloss nails that look as stunning as a freshly applied lip gloss. Whether you’re a beginner wanting to try an at‑home makeover or a nail enthusiast curious about long lasting gel alternatives, read on for expert tips and step‑by‑step instructions.
What Are Lip Gloss Nails?
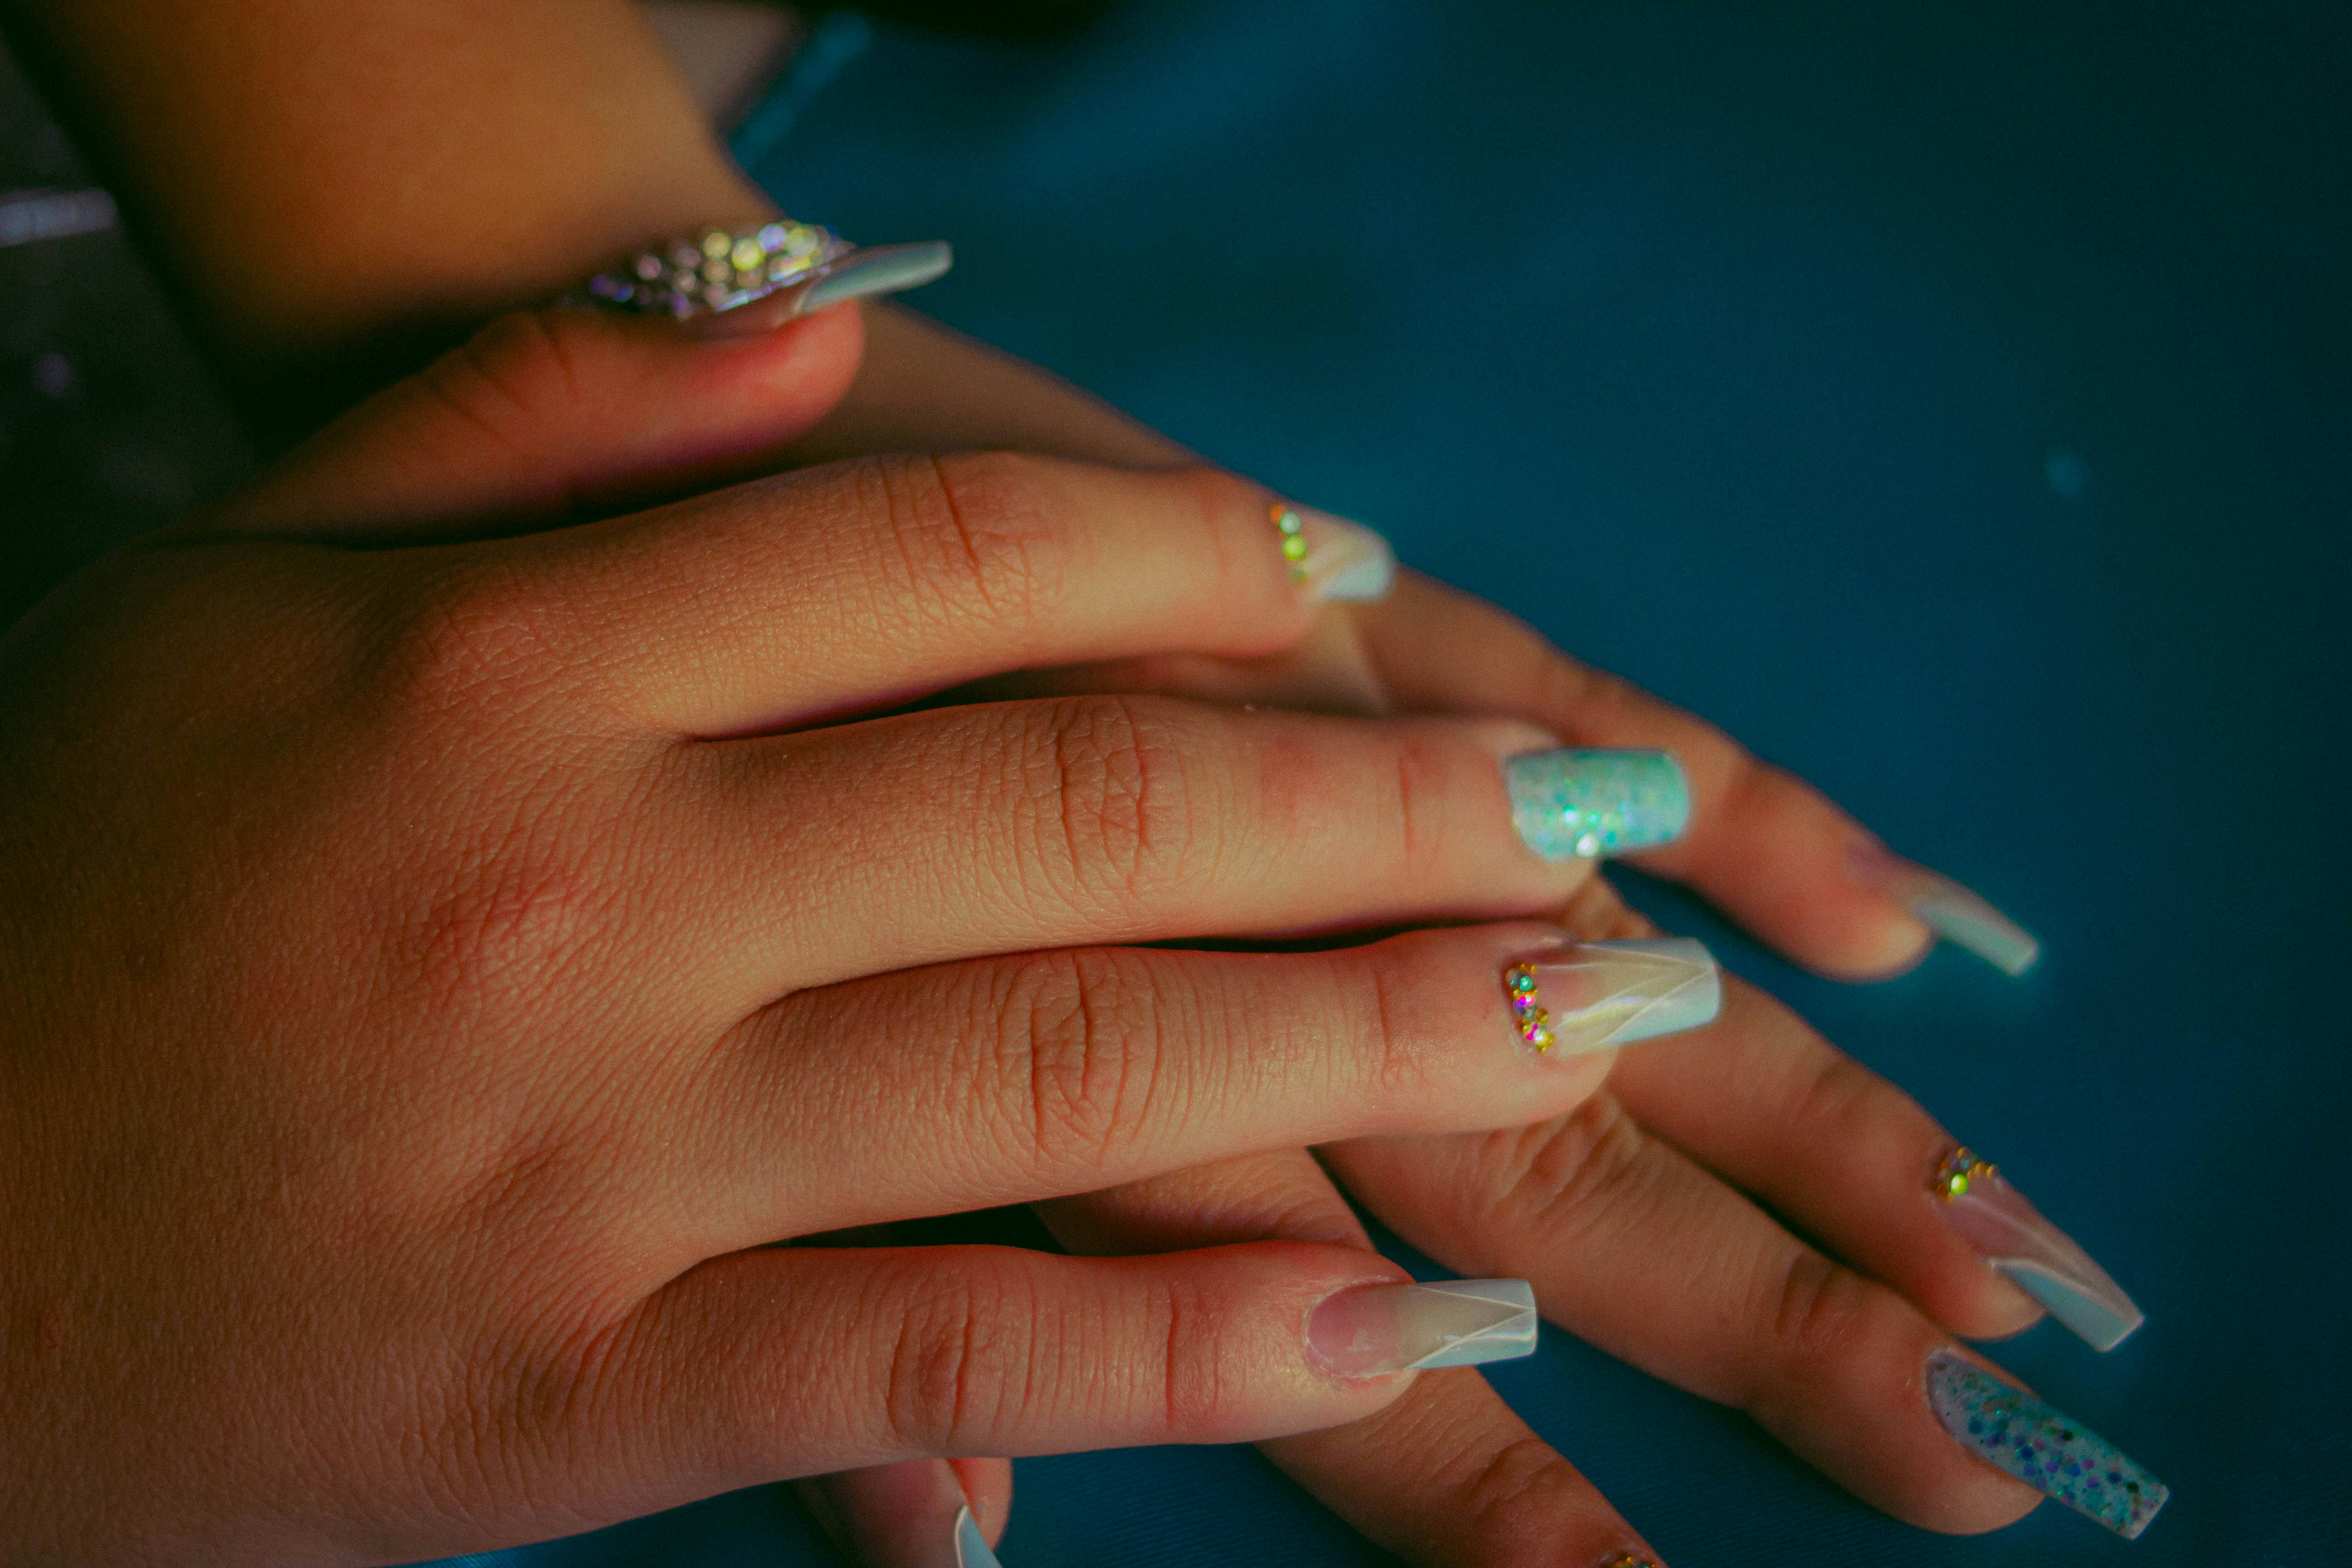
Lip gloss nails are all about achieving a mirror‑like shine on your nails, similar to the glistening effect of your favorite lip gloss. This trend isn’t just about the vibrant polish or the perfect color—it’s a style that exudes sleek sophistication while adding a playful twist to your everyday nail look. Think high‑gloss finish, deep luster, and a finish so shiny that your nails might just look like they’ve been dipped in liquid lip gloss.
Step 1: Choosing the Right Products
When embarking on your lip gloss nails journey, the first decision is choosing your nail polish and top coat:
- Polish and Gel Options:
For a long lasting finish, consider using a gel polish with a high‑gloss top coat. Gel formulas are known to be durable and can make your lip gloss nails look as brilliant as those from a professional salon. If you prefer a traditional approach, opt for a high‑shine nail polish that promises a glossy finish. - Brands to Consider:
Many nail enthusiasts swear by OPI and Essie for their impeccable quality and variety of colors. Look for shades that mimic the vibrant colors of lip gloss—from bright, playful hues to subtle, neutral tones that echo your signature style. - At‑Home Application:
If you’re doing this at home, make sure you have the essential tools: a good base coat, your polish of choice, a top coat to lock in the shine, and if desired, a gel lamp for curing gel products. Your goal is to achieve that best‑looking, lip gloss nails effect that’s both durable and radiant.
Step 2: Preparing Your Nails
Great lip gloss nails start with proper prep. Here’s how:
- Clean and Shape:
Remove any old polish, trim, and file your nails to your desired shape. Whether you prefer a neat square or a stylish stiletto, shaping sets the structure for a flawless application. - Buff and Moisturize:
Lightly buff the surface of your nails to smooth out imperfections and then apply a nourishing cuticle oil or moisturizer. This creates an even base and helps the polish adhere better. - Apply a Base Coat:
A clear base coat not only protects your natural nails but also improves the longevity of your lip gloss nails. It gives you a uniform surface to work with and prevents staining.
Step 3: Application Technique for That Lip Gloss Look
Now to the fun part: applying the polish and creating a stunning gloss:
- Apply Your Chosen Color:
Choose a polish shade that appeals to you—whether it’s a vibrant color that makes a statement or a soft, neutral tone that looks effortlessly chic. Apply two thin coats for even color. - Achieve the Glossy Finish:
For a lip gloss nails effect, the magic happens with the top coat. Choose a top coat that promises extra gloss and shine. If you’re using gel products, cure them under a lamp to lock in that mirror‑like finish. - Before and After Magic:
For an even more dramatic transformation, try applying the gloss top coat only in the final layer and compare the before and after. You’ll notice how even a simple application can make your nails look nearly as radiant as a fresh swipe of your favorite lip gloss.
Step 4: Styling and Maintenance Tips
Keep your lip gloss nails looking fabulous longer with these tips:
- Regular Care:
Avoid harsh chemicals and wear gloves when doing chores. Apply a nourishing nail oil daily to prevent dryness and keep the shine long lasting. - Maintenance:
If you notice chips or dull spots, carry a small compact polish kit for touch‑ups at home. - Removal:
When it’s time for a change, gently remove the polish using acetone‑free remover to minimize damage. For gel products, follow proper removal techniques to avoid weakening your natural nails.
The Purpose Behind Lip Gloss Nails
Lip gloss nails are more than just a cosmetic trend—they’re a form of self‑expression. The right nail polish can complement your entire look, elevate your style, and even transform your haircut or overall appearance. By achieving this high‑shine finish, you’re telling the world you’re bold and ready to stand out. It’s a trend that blends classic beauty with modern flair, much like a quality lip gloss that pairs perfectly with your makeup look.
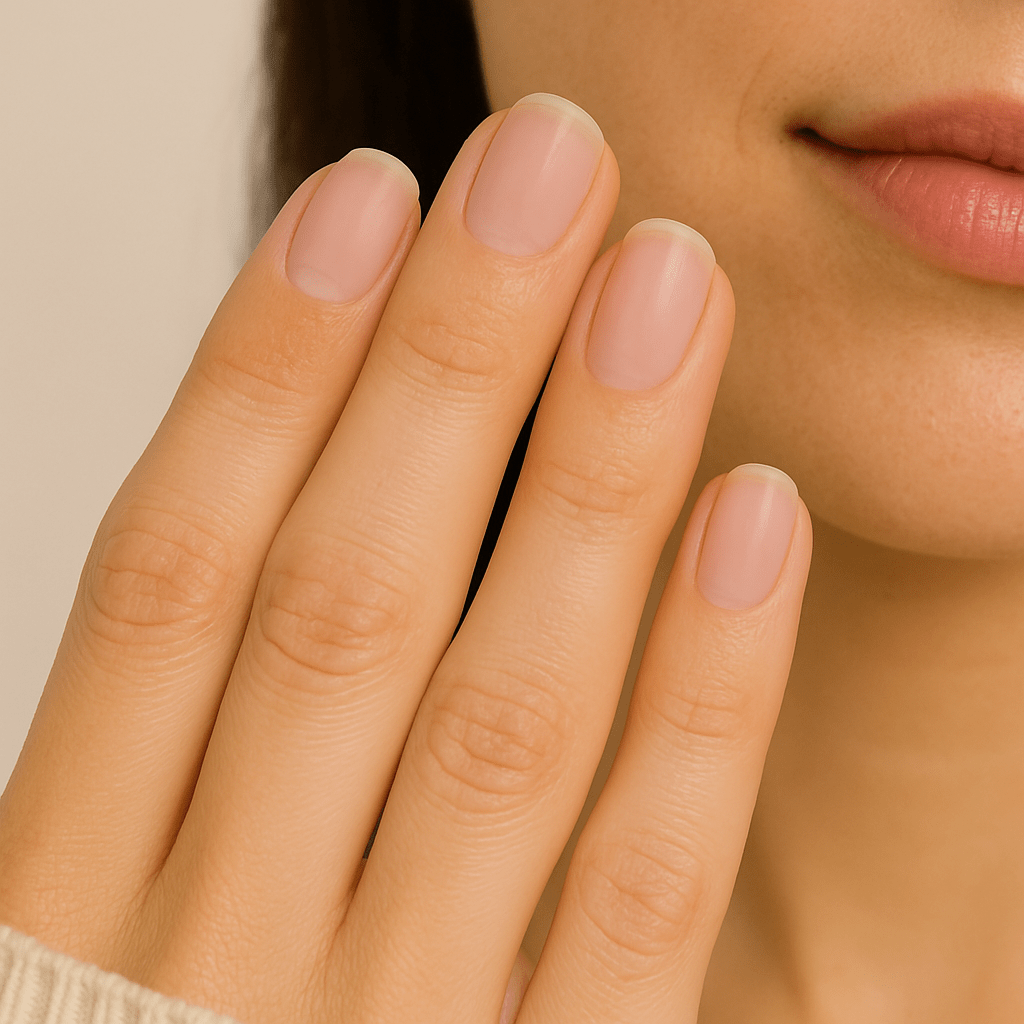
Before and After: Transform Your Look
Imagine this: your nails before—dull and ordinary. After applying the perfect lip gloss finish with rich, vibrant polish and a high‑gloss top coat, your nails become a statement of confidence and style. Check out our before and after here to see real-life transformations that prove how effective this technique can be.

Whether you’re new to nail art or a seasoned pro looking for a fresh trend, achieving lip gloss nails at home is easier than you think. With the right products—be it a gel system from OPI or a trusty polish from Essie—and a proper technique, your nails can become the best accessory in your beauty routine. Remember, the secret is in the preparation, the careful application, and the dedication to nail care that makes your lip gloss nails not only look beautiful but last long.
✨ Comment below: What’s your favorite nail trend right now? Do lip gloss nails inspire your style?
💌 Subscribe to Lovelylady for more beauty tutorials and trend insights that keep you looking your best.
📸 Share your transformation: Post your before and after photos with #LovelyladyGlam for a chance to be featured.
Here’s to nails that shine as brilliantly as your personality—glossy, gorgeous, and oh-so-confidence‑boosting!